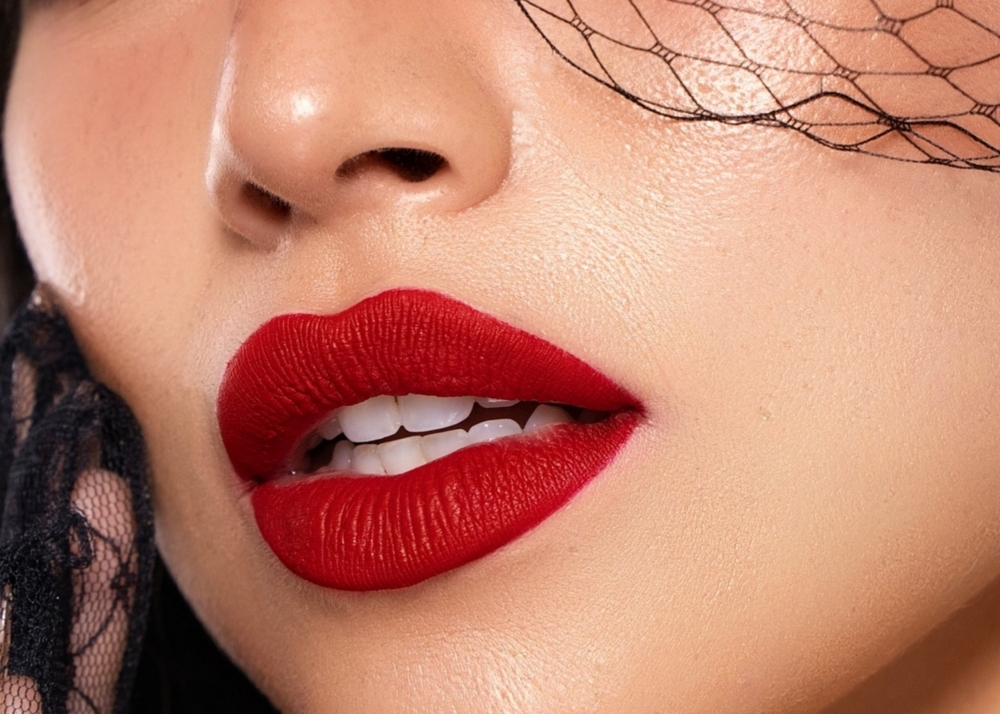
Finding that coveted lip color can be a lengthy journey. Whether it’s a fabulous pop of red, a barely-there slick of nude, or the prettiest pink you’ve ever laid eyes on. Sometimes we know exactly what we want but can’t find its exactness in stores. Well, search no longer. We’re here to help you discover exactly how you can mix your lip colors to achieve the shades you’ve been dreaming of. That’s right, every color you’ve ever imagined can be made following our quick and easy mixing tips below.
Ready to dive in?
Pucker up…
How To Blend Your Colors
To find that must-have color, you’ll need to understand the best ways of combining the lipstick shades you have on hand. Now, there are a fair few ways to do this and which you choose is totally up to you. We’ll go over the techniques we’ve found most helpful and effective to help you decide!
Blending Your Lipsticks In A Palette
As any experienced painter would tell you, using a palette, (or, let’s be honest, the lid of your lip compact) is a great way to blend colors together. Use a clean, dry lipstick brush to select the colors you’re wanting to mix making sure to clean the brush of residue in between. This will stop each of your individual lipstick colors from becoming permanently altered. Additionally, using a brush instead of your finger will be cleaner in terms of the mess, and, contamination of the product. Once you have a small amount of each color on the same spot, go ahead and use the brush to mix them well. From here, you can add more color as needed before applying to primed lips.
The downside to using this technique of course is that the color isn’t actually on your lips once it’s mixed. The natural color of your lips can, of course, alter the color slightly, especially for those experimenting with nude, or, ‘barely there’ shades. Therefore, this technique is one we’d recommend for when you’re mixing much darker colors. It’s unlikely these will change much once applied as they’re considerably darker than the natural color of your lips. Now, simply slick on and build up your new shade and you’re ready to head out!
Blending Your Lipsticks On Your Lips
The obvious alternative to blending lip colors on a plastic palette or on the back of your hand is to blend them right on your lips themselves. Choosing this technique means you can immediately see how your color blending is going and can adjust as you go along. This can be really great as it saves on those times when you think you’ve mixed the ultimate lip shade, only to find it’s way too dramatic or fades into the background on application.
We’d recommend this technique when you’re pretty sure about the shade you’re hoping to achieve, are opting for a fairly nude one, or one pretty similar to your natural lip color.
The downside to this way of blending is that it can get messy. Fast. If you’re not sure about the shade you’re looking to achieve just yet, or you simply want to experiment with lots of colors to find your perfect one, you may want to wait before putting color directly onto your lips.
Why?
We’re glad you asked!
Lipsticks are definitely one of the thicker makeup products out there. This means they can clog up pretty quickly when lots are applied at once. This is never the look we’re going for and should be avoided at all costs!
Instead, have your fun mixing up lots of different shades on your palette before transferring the color to your lips. This way you can play around with deeper, moodier tones and won’t look like you’ve attempted a Halloween look in January!
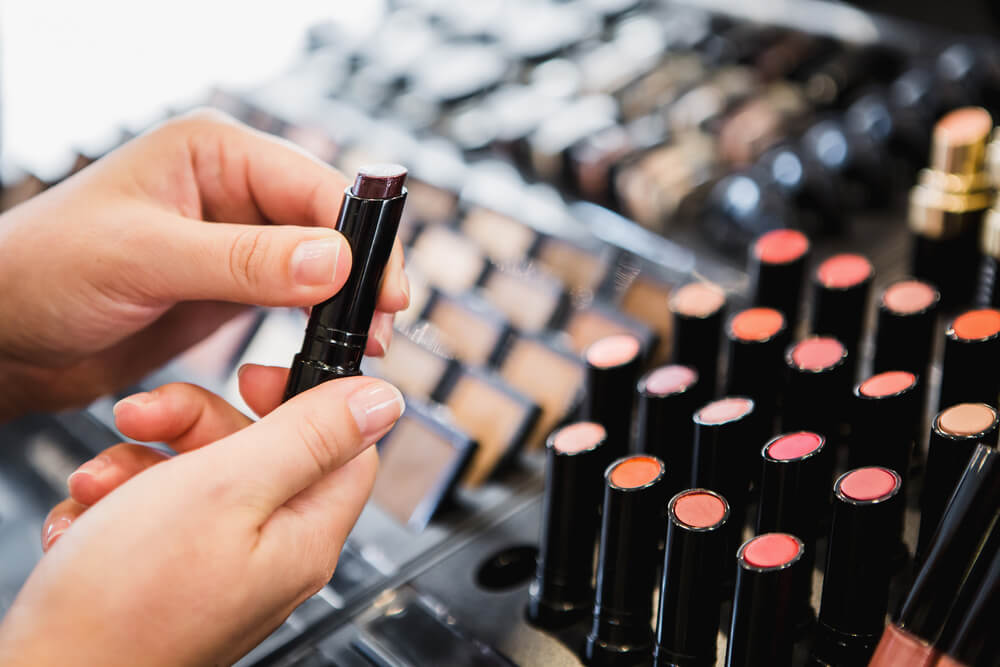
Testing Your Lipstick Shade Before Application

Understandably, you may not wish to apply color after color to your lips when searching out your dream shade. This can not only be tiresome having to wash off your lips between each application, but it can also dry them out, especially at this time of year! Therefore, you’ll need another way to get a rough idea of your mixing results first.
We’ve found the best way to do this is, the tried and tested, on the back of the hand or your forearm. Though the skin here isn’t exactly the same color as on your lips, it’ll give you a much closer and truer result than you’d get from a palette, a tissue, etc.
Simply use your brush, or your finger, to apply a little of your blended color to your hand or arm and blot as you would on your lips. You’d be surprised how accurate this way of testing the color is once it’s actually applied to your lips!
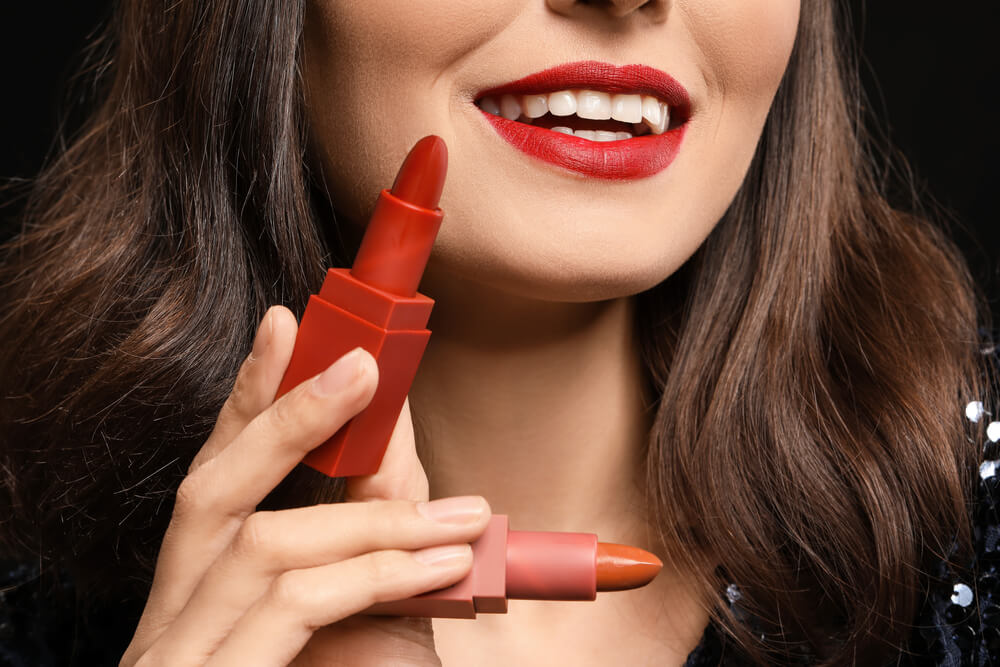
How Do I Know What My Perfect Lipstick Shade Will Be?
The perfect shade all depends on what you’re looking for. If you’re searching for the perfect festive party look to compliment your cat eyeliner, reds and shocking pinks are foolproof! If drama and intrigue take your fancy, a deep plum shade will be perfect for an autumn/winter party look.
These dramatic looks aside, many of us are simply searching for the ideal everyday look. Finding this shade is different for each person. That’s because the best way to identify it means looking at both your skin tone and hair color.
A good way to select the colors right for you can be quite simple. Those with fair skin and hair should opt for pale tones and nude finishes. Meanwhile, darker skin and hair calls for warm undertones with a natural finish.
How To Know Which Lipstick Colors Will Achieve Your Perfect Shade
Now, we all remember learning our colors back in kindergarten. Yellow and blue make green, red and blue make purple, etc. Unfortunately, those color mixing skills aren’t all that helpful here since the shades we’re mixing are quite different from our once beloved finger paint offerings!
When it comes to mixing lipstick colors, you’ll need to do a little more research to find which colors and textures blend best. Now, don’t panic! That’s what we’re here to help with. Though there may be a little trial and error ahead on your journey to your dream lip color, these tips will certainly have you well on the way to puckering up with confidence!
Consider Your Textures
When it comes to color blending your lipsticks, the texture and finish of the colors you use are almost as important as the hues themselves. For example, if you want a totally dramatic, dark matte finish, mixing in a gloss shade is likely to disturb the aesthetic. Therefore, you’ll want to stick to all matte formulas for matte looks, and glossy lipsticks for high shine, or particularly glamorous looks!
How To Mix Glossy Lipsticks
The beauty of glossy lipsticks is that they’re super easy to blend. Their texture is smooth like butter meaning you can easily combine two or more shades quickly with your finger or with a brush!
As with any lipstick blending, choosing lipsticks with a high pigment is a great way to ensure you achieve a statement look. Your color will be much more striking with these lipsticks and will stay brighter for longer! Just make sure each of the lipsticks you use has a similar pigment. Otherwise, you could drown out one or more of your shades.
How To Mix Matte Lipsticks
As with glossy lipsticks, blending matte lipsticks is easiest to do with a brush. Additionally, of all the lip colors you can use for blending, matte formulas are the densest. This means you may need a little more time to allow these shades to combine smoothly.
To start, shave a little product off of each stick and use your brush to push the product down and smooth it out. Then you can start to blend them. Alternatively, if you’re blending straight onto your lips, we recommend using your finger to transfer and mix the colors. This will allow enough pressure to get the colors mixing on this softer surface. A brush on the other hand is better for accuracy than blending on this softer surface.
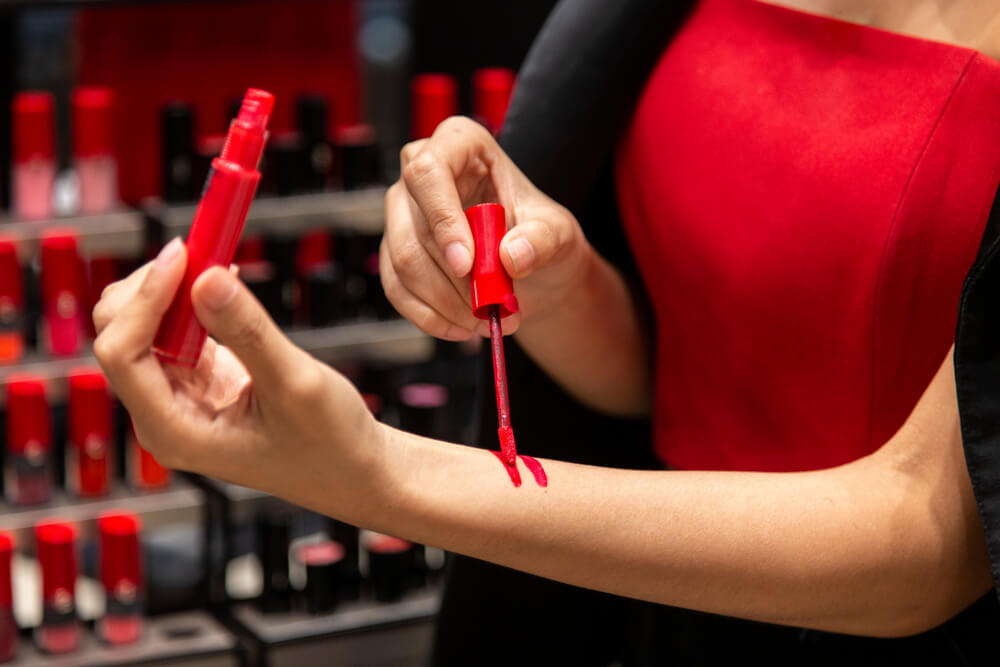
Can You Mix Liquid Lipsticks?
If we’ve said it once, we’ve said it a thousand times…
Makeup should first and foremost be about fun!
To that end, we say you can absolutely mix liquid lipsticks. Now, bear in mind this blending technique could get a little messier than those using regular lip color. The liquid form of these products isn’t quite as easy to control. Plus, they often come in packaging that makes it harder to access the exact quantities you need.
All this aside, once you’ve managed to dab a little of each color you’re using onto your blending surface, this technique is incredibly easy. Liquid lipsticks are a dream to blend as they’re so smooth and soft. What’s more, it’s very quick and will glide onto your lips like a dream!
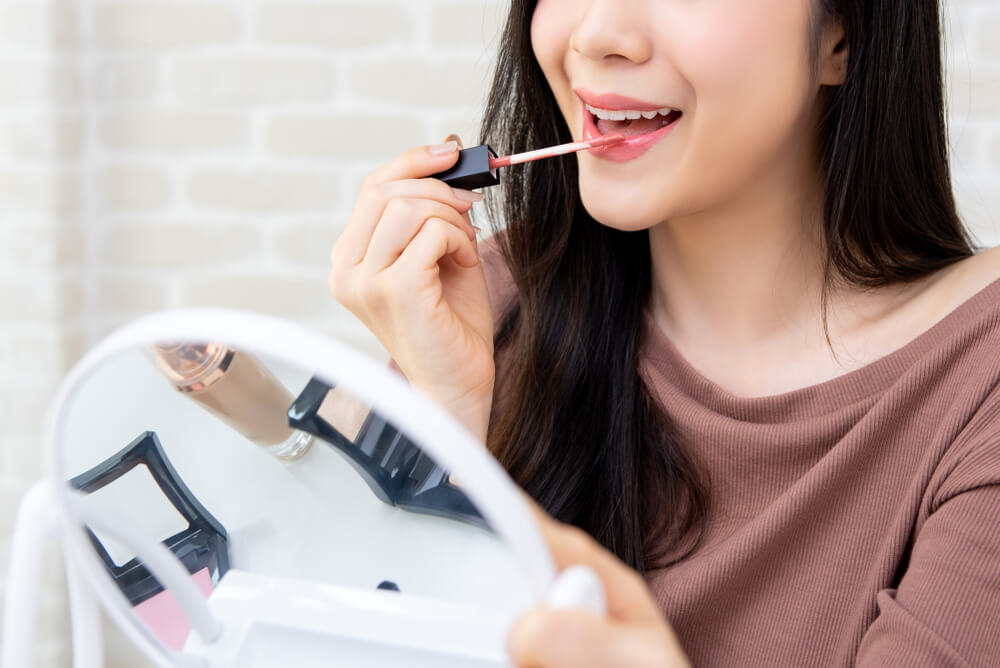
Can You Mix Lipstick And Lip Gloss?
Yes! Lipstick and lip gloss, in our opinion, are a match made in heaven. After all, what’s better than a pop of color with an iridescent finish! The question is, how do we mix these products in such a way that they complement another without making a gloopy mess?
First, you’ll want to decide just how glossy or opaque you want your blend to be. Adding more lipstick will make for a more opaque finish. Adding more gloss will, of course, be glossier.
For opaque finishes, we recommend taking a small piece/shaving from your lipstick and using a brush to smooth it into a malleable form. Then, slowly start to add the gloss. This way you can control how much you add as you continue mixing for the end result.
For glossier looks, switch this technique around. Start with the gloss and add small amounts of lipstick. This will result in a tinted gloss of sorts that’s just perfect for a dewy lip look at any time of the day or night!
How To Brighten Up Or Tone Down A Shade
Blending lipstick colors may not always be a product of wanting to invent a new shade for yourself. For example, sometimes, we purchase a lipstick we think we’ll adore, only to realize it’s a disaster when we get it home and apply it.
Usually, this is not because we hate the color but because the tone of it is wrong for us. Perhaps it looks duller than you were imaging, on the other hand, maybe it’s way too bright! Whichever is true for you, learning how to blend shades you thought were written off is not only exciting but frugal too!
Amazingly, warming up a lipstick shade can be as easy as reaching for your favorite blush. Pro tip: cream blush works best here as it won’t dry out your lips. Blushes with bronzed undertones will make the ideal base for warming up a shade you thought was too cold. Alternatively, applying a little pink based blush underneath your lipstick will work wonders in terms of cooling it down. Lipstick saved!
Leave A Comment