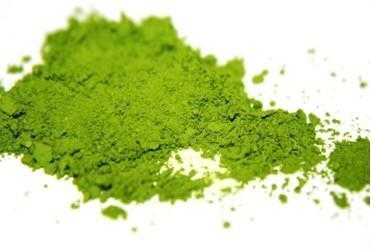
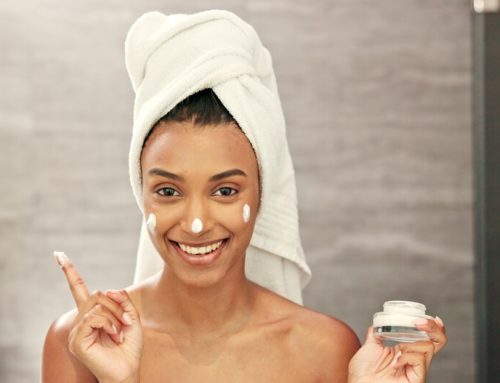
I remember the first time I saw a green concealer. I remember wondering how in the world was I supposed to use such an odd color for my face and vowed never to use a green color corrector. A few years down the line and I find myself reaching for the green concealer (also called “neutralizer”) for occasions when my face needed to be flawless!
This green color corrector has totally changed my life and it can change yours, too! Check out my color corrector routine below and see how it works for you.
1. Use a small concealer brush and dip it into the green color corrector. Then, tap it against the side of the pot because you never want to use too much. When it comes to green color corrector, less is more.
2. The next step is to dab it onto your problem areas. For instance, if you have a particularly nasty pimple on your chin or nose, dab powder on it to neutralize the redness. In fact, you can use this anywhere on the face where you want to get rid of redness.
3. As soon as you are happy with how it’s blended and you do not see any obvious green tint, apply concealer and foundation. Now you might worry about the color corrector rubbing off but if you apply it correctly, it will stay in place.
4. Apply the rest of your makeup as usual.
It is as simple as that and I love how it gets rid of any ruddiness and redness on the skin. I have tried many green color correctors over the years and I have to say I loved the powder form the best. Of course, it just depends on your preference and your skin type. My skin is somewhat oily so powder form works best on me. If you have dryer skin then perhaps the cream type will work best for you. Remember, it is all trial and error and less is more when it comes to green tinted makeup. I’ve learned that lesson the hard way so take it from me!


Leave A Comment